A  popular set of modifications known as the “HeroMe mod” did not support Creality CR-6 SE printers due to the comparatively unique implementation of a strain gauge as a means to achieve Auto-Bed Leveling (ABL) functionality. For the purposes of refining my SOLIDWORKS CAD skills, it became my goal to implement this modification with full support for strain-gauge ABL with the intention to open source it for other users to enjoy.
Several issues were immediately identified that would need to be addressed:
- HeroMe Design Suite models availability: The models that could be freely downloaded from the internet were not intended to be worked on by virtue of their file type (STL, Stereolithography.) If modifications needed to be made, the files needed modification or reverse engineering.
- No reference CAD for 3D printer: Unlike the Ender 3 series of 3D printers, Creality did not open source the engineering drawings or CAD files for the CR-6 SE. Creating a design compatible with the CR-6 SE would necessitate a variety of references to ensure proper fitment into a real-world printer.
Further, other ideas regarding the improvement of the toolhead were explored:
- Limitations of Toolhead Design: Any “hotter” filaments that required ≥230°C (such as PETG) would, over time, damage the PTFE-lined hotend. For the purposes of reliability, the hotend would need to be replaced.
- Limitations of Filament Extruder: The Bowden-style extruder was weak and prone to skipping if exposed to any in-line forces, resulting in artifacts.
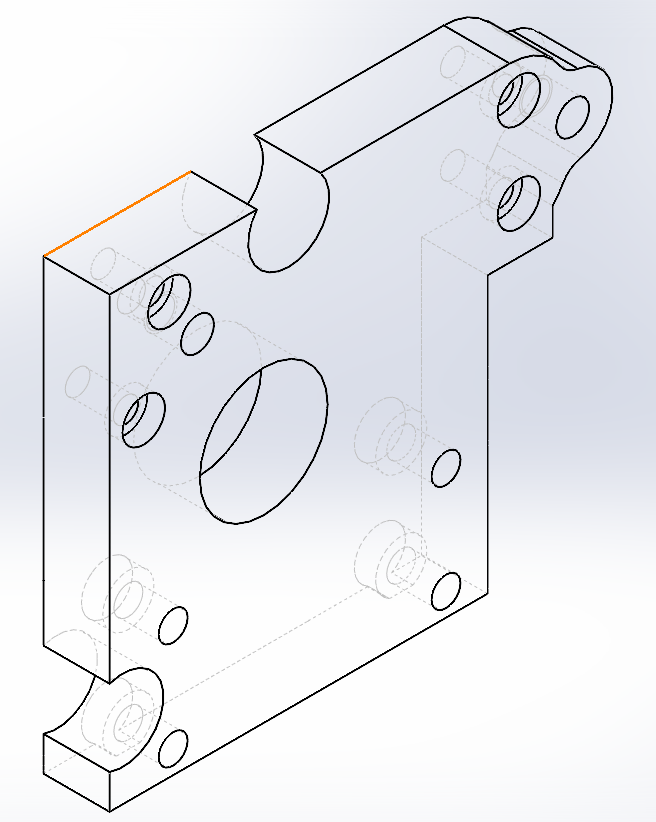
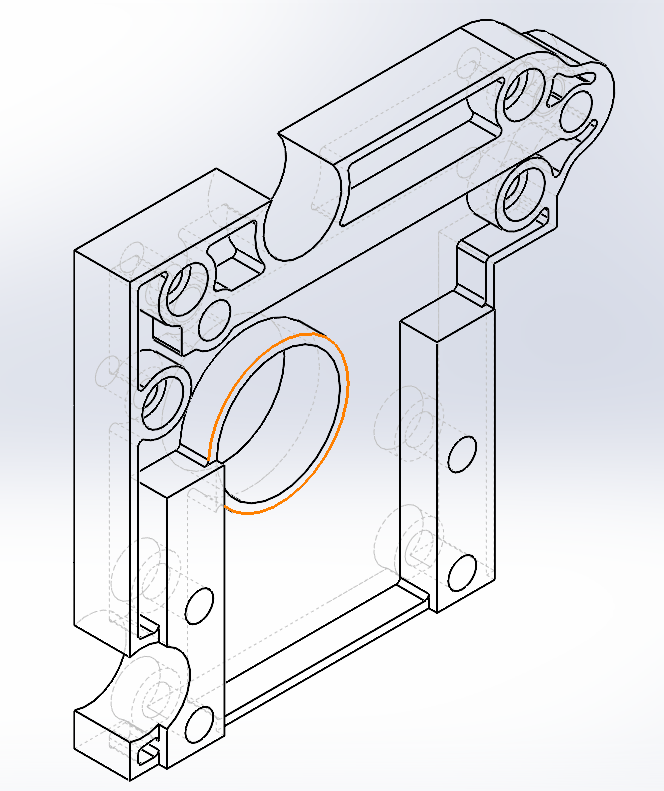
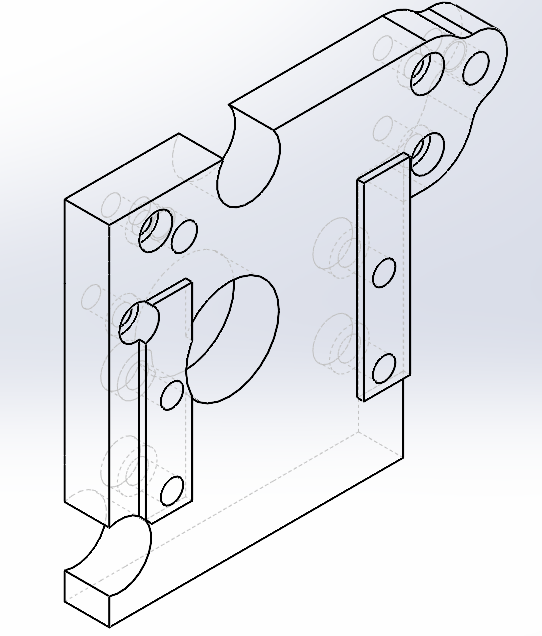
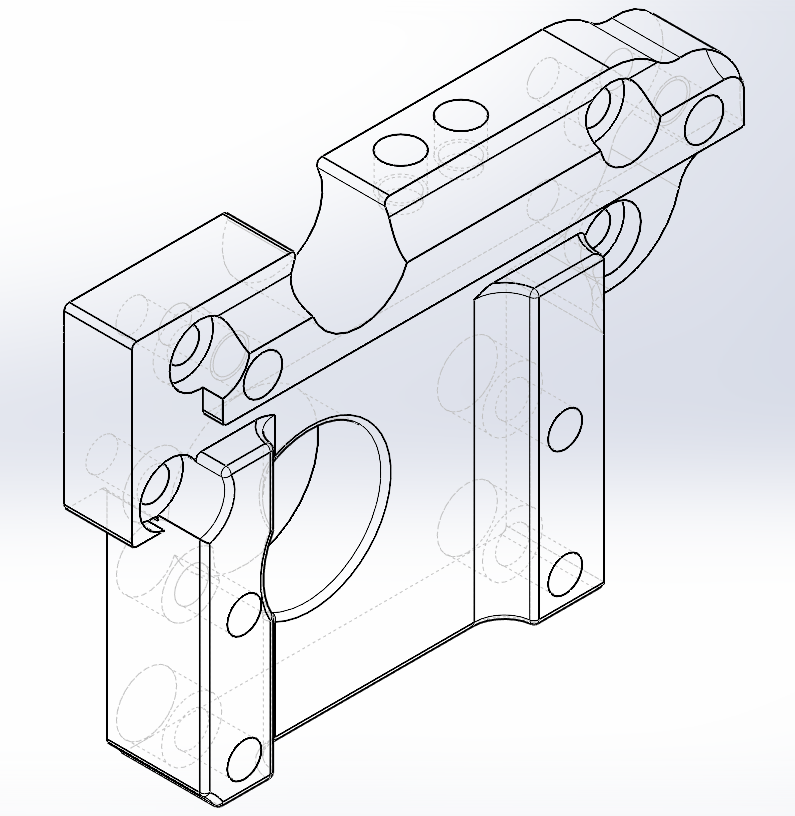
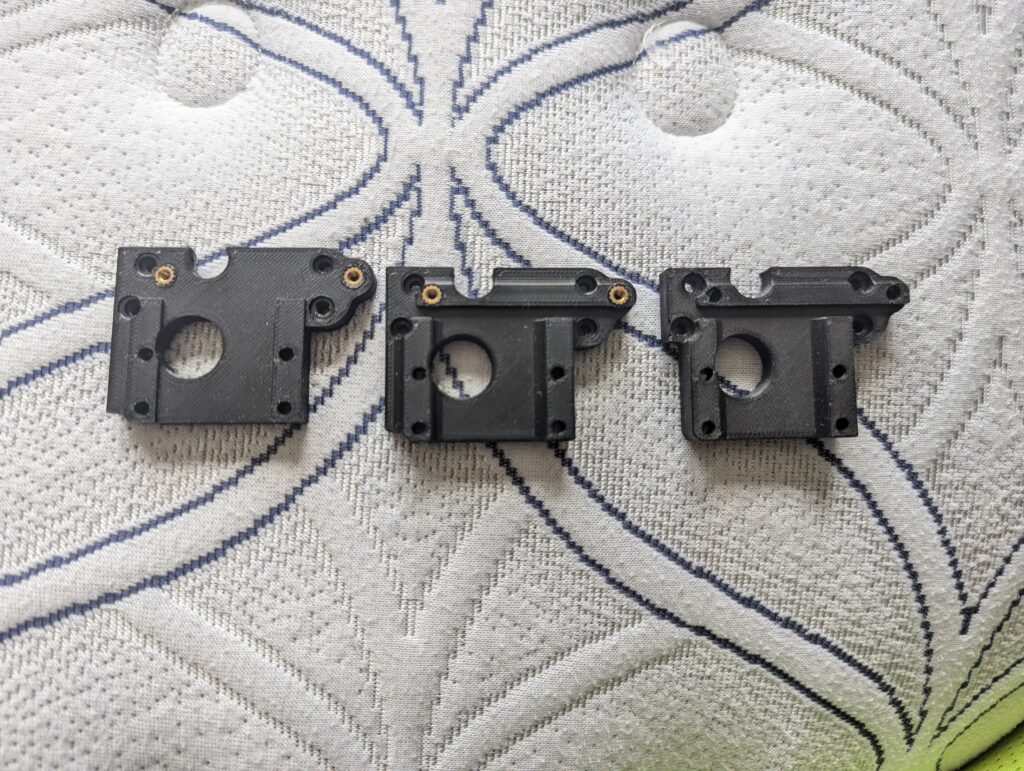
(Left to Right) Major revision 1 – 4 of the reverse-engineered and customized base for the CR-6 SE printer.(Left to Right) Major revision 1 – 4 of the custom CR-6 SE carriage mount, attaching the strain gauge assembly, base assembly and Orbiter V2 Direct Drive extruder to the motion system of the printer.
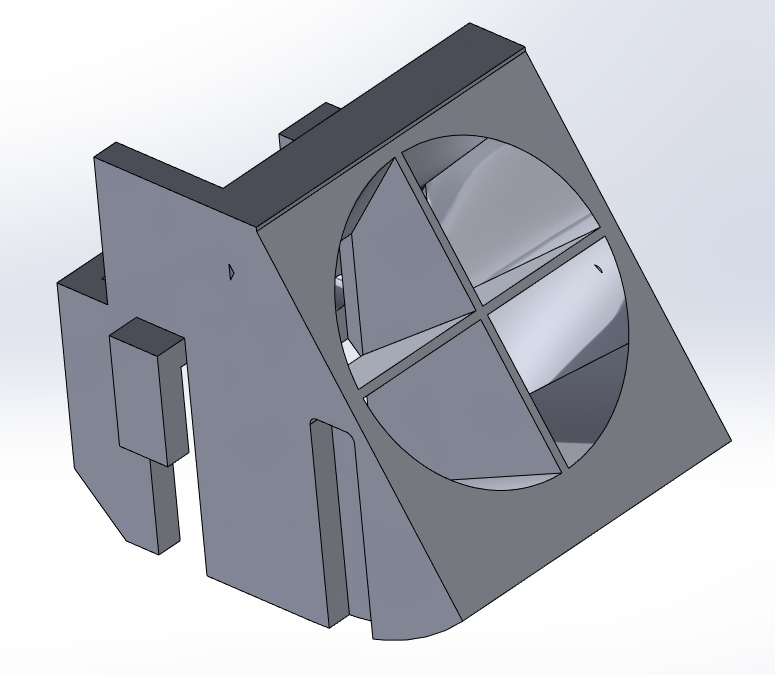
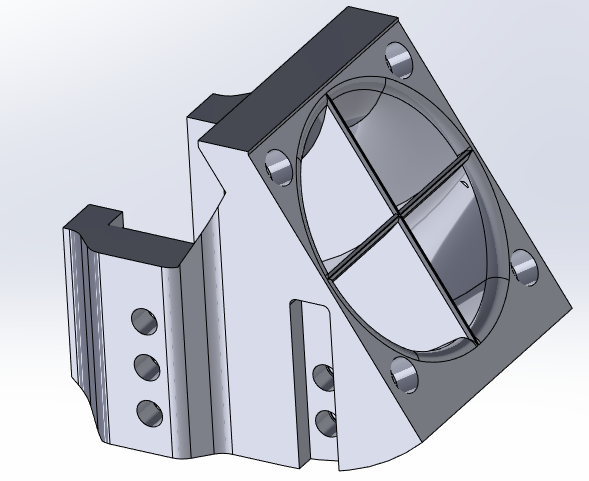
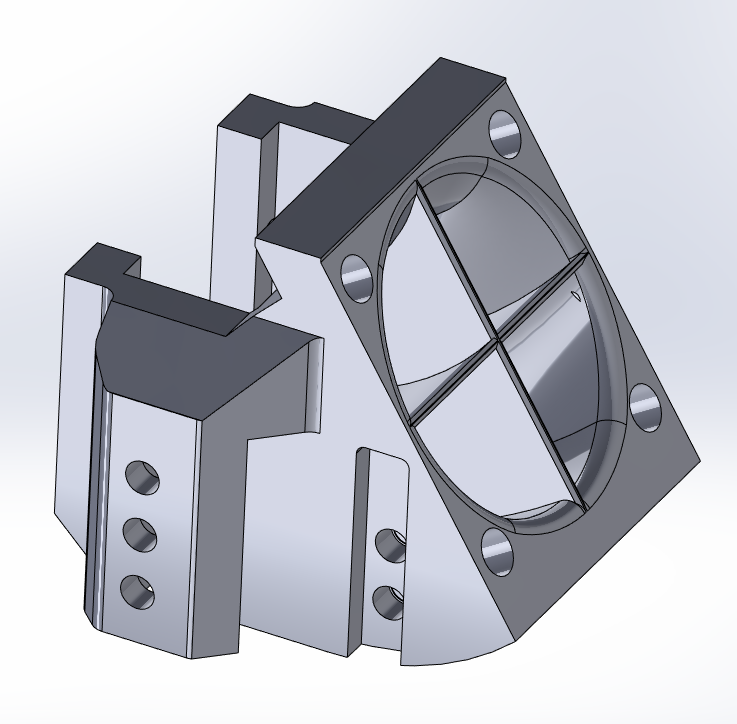
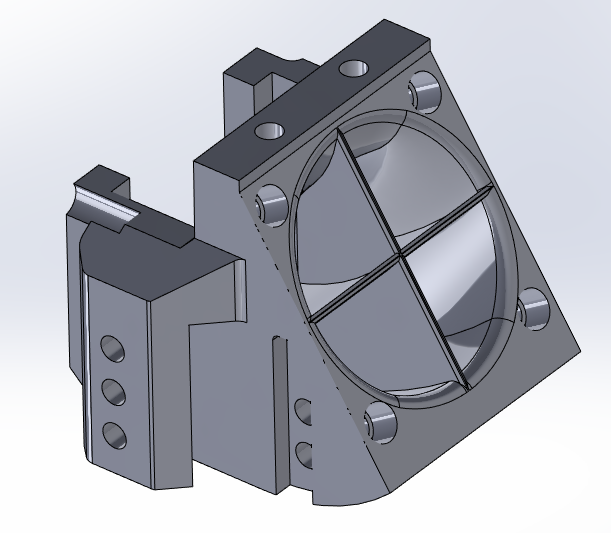
Many revisions of major components, such as the reverse-engineered HeroMe Gen 6 base, were created throughout the development of the project. Initially, the focus was to recreate the major features of one of the HeroMe Gen 6 bases that was used in the project. The protrusion off to the side would be the first example of a major modification, being the movement of any features to fasten down/secure the ducting assembly to accommodate the strain gauge and hotend assembly. Once major geometry was decided and dialed in, various features (holes, etc.) needed to be adjusted to ensure that 3D printed parts were within tolerance.

To make part modification and assembly creation easier, Hole Wizard was used extensively to create any hole features used for machine bolts, heat-set inserts and other components.

Parts were repeatedly 3D printed for testing overall geometry, fitment with the 3D printer motion system, integration with assembly components and adjusting tolerances. Multiple times during the project, traditional 2D prints (to scale) and laser cut components were also tested to speed up the process of iterating various geometry or features versus needing to 3D print. It was discovered that taking some geometry, exporting as DXF or DWG and printing models to scale via a 2D printer on paper was most time efficient (and especially handy when checking if various dimensions were correct when creating CAD models of the
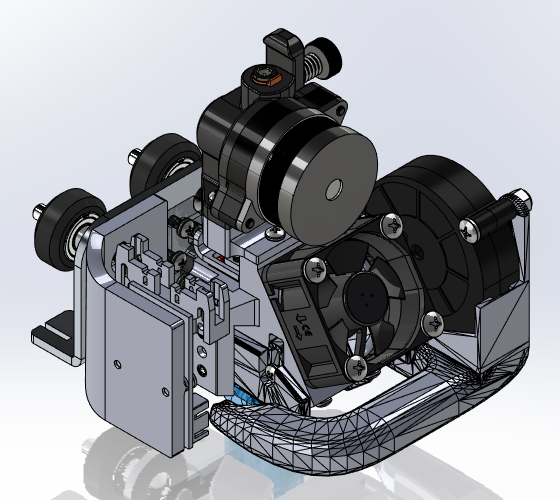
After 2-3 years, the project was effectively completed with:
- Implementation of a Direct-Drive (DD) LDO Orbiter V2 extruder with reverse-Bowden setup
- Integration of the original strain-gauge ABL hardware
- Improved part cooling performance
- Reverse-engineered, dimensionally accurate CR-6 SE carriage assembly
- Reverse-engineered HeroMe parts
- Completely custom carriage mount, Orbiter V2 mount, daughterboard mount

This project significantly improved my project organization within SOLIDWORKS, improved my usage of reference geometry, introduced me to CAD version control (using Perforce Helix Core), introduced me to rapid prototyping/iteration for designs, and further acquainted me with the design of 3D printers.